How to Fix HP OfficeJet Pro 8710 Printhead Missing or Failed
Quick Diagnosis
This error occurs when the printer's mainboard loses electrical communication with the printhead assembly, usually caused by ink residue on the copper contact pads, a loose printhead latch, or a misaligned carriage spring mechanism.
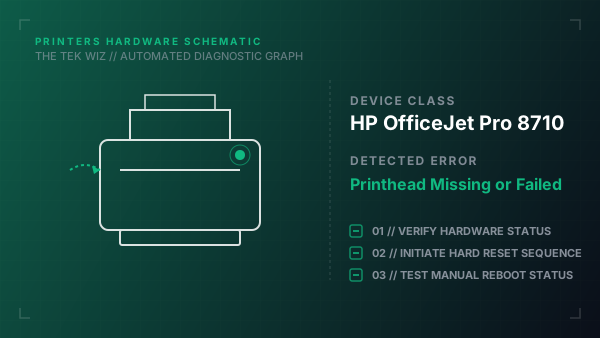
Step-by-Step Resolution
- 1
With the printer powered on, open the ink cartridge access door and wait for the carriage to glide to the center.
- 2
Disconnect the power cord from the back of the printer without turning it off, forcing the carriage to remain unlocked.
- 3
Remove all four ink cartridges, lift the latch handle on the side of the carriage, and carefully lift the printhead assembly straight up and out.
- 4
Use a clean lint-free cloth lightly dampened with distilled water to gently wipe the copper electrical contacts on the back of the printhead and inside the carriage.
- 5
Wait ten minutes for all contacts to dry completely, reinsert the printhead, close the carriage latch securely, reinstall the cartridges, and reconnect the power cord.
Alternative Causes & Edge Cases
- On the HP OfficeJet Pro 8600, the carriage ribbon cable can rub against the internal frame, causing physical cuts in the wires that mimic printhead failure.
- On the HP OfficeJet Pro 8720, a failed mainboard voltage regulator can stop sending power to the printhead, triggering the same error code.